Ableton Live is a digital audio workstation (DAW) that allows users to create, produce, and perform electronic music. First released in 2001, Ableton Live has become one of the most popular DAWs used by music producers, DJs, and sound engineers around the world.
At its core, Ableton Live provides users with robust tools for recording, arranging, mixing, and manipulating both audio and MIDI. The software stands out for its exceptional functionality for live performances, allowing users to trigger and remix musical ideas on-the-fly. However, Live also works seamlessly as a studio production tool.
What is Ableton Live: Table of Contents
This guide is intended to provide music producers, DJs, and sound engineers with a comprehensive overview of Ableton Live’s features and workflow. Whether you are new to music production software or are looking to take your skills to the next level, this guide will walk you through everything you need to know to get started and excel at producing music with Ableton Live.
We’ll cover key aspects of the software including setting up your studio, recording and editing audio, MIDI sequencing, using virtual instruments and effects plugins, mixing and automation, and advanced production techniques. The guide also includes tips for DJing and live performance with Ableton Live.
By the end, you will have a solid foundation for harnessing the power of Ableton to bring your musical ideas to life and take your productions to the next level. Equipped with this knowledge, you will be able to utilize Live’s flexible workflow to produce professional music tailored to your creative vision.
What is Ableton Live?
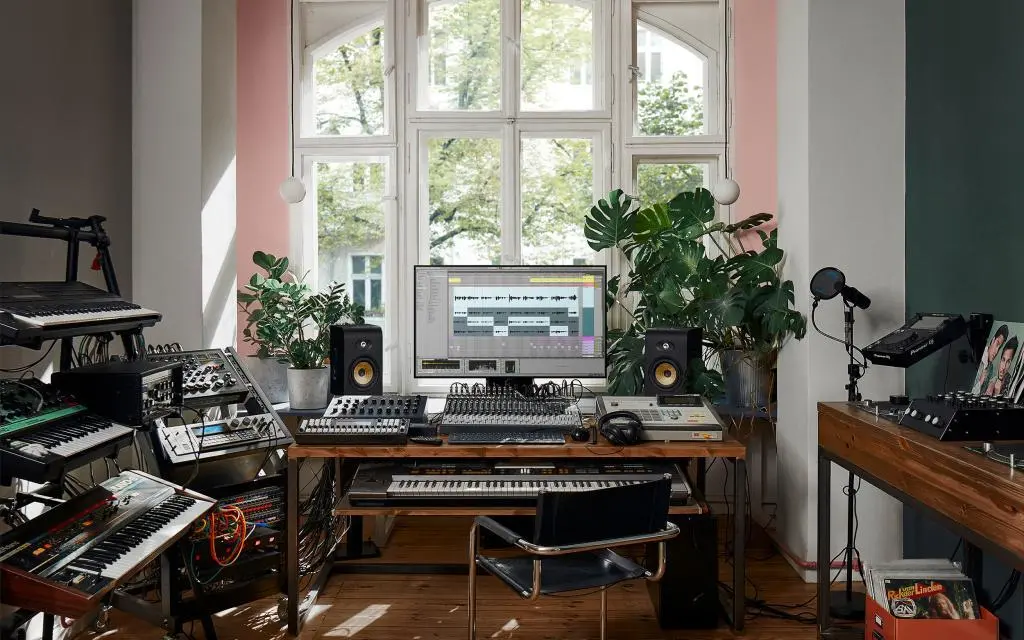
Ableton Live is a groundbreaking digital audio workstation (DAW) that has redefined how electronic music can be created and performed.
Some of the key capabilities and uses of Ableton Live include:
- Multitrack recording – Record multiple tracks of audio and MIDI.
- Warping – Change the tempo and timing of audio without affecting pitch.
- MIDI sequencing – Program beats, melodies, harmonies via MIDI.
- Clip launching – Trigger audio and MIDI clips to improvise arrangements.
- Mixing and effects – Mix, process, and add effects with built-in plugins.
- Synthesis and sampling – Create sounds using virtual analog synths, samplers, drum machines.
- Automation – Automate parameter changes over time for mixing and sound design.
- Max for Live – Customize Live’s capabilities using visual programming.
- DJing and live performance – Mix and rearrange music spontaneously during shows.
Ableton Live Editions – Which One Should You Get?
Ableton Live comes in three main editions – Intro, Standard, and Suite. Each version builds on the capabilities of the previous one to fit different needs and budgets. Let’s look at the key features of each edition and how to choose the right one for your music production needs:
Ableton Live Intro is the most affordable entry-level version. It offers16 audio and MIDI tracks, basic built-in instruments, and essential effects. Intro is ideal for beginners wanting to get started with Live’s core functionality.
Ableton Live Standard delivers more advanced tools for intermediate users. You get unlimited audio and MIDI tracks, 25 built-in instruments, and a wider range of effects. Standard unlocks many capabilities for taking music projects to the next level.
Ableton Live Suite is the flagship DAW with all the bells and whistles. Everything in Standard plus 70+ instruments, advanced sound design tools like Sampler and Wavetable, and the Max for Live environment for limitless customization. Suite is built for professionals.
When deciding which edition is right for you, consider:
- Your experience level and production needs
- Number of tracks and complexity of projects
- Access to specific instruments and effects
- Budget constraints
It’s worth investing in the best edition you can afford – you’ll grow into the features over time. But Intro offers an affordable entry point for beginners to get started. Evaluate your needs and choose the edition that aligns with your skills and budget.
Downloading and Installing Ableton Live
Once you’ve decided on the edition of Ableton Live to purchase, it’s time to download and install the software. Here’s what you need to know:
Where to Dowload Ableton Live
The best place to purchase and download Live is from Ableton’s official website. Buying direct gets you guaranteed authentic software plus access to customer support. Watch for seasonal sales around the holidays to get the best price.
System Requirements
Make sure your computer meets the minimum system requirements for smooth performance. In general, you’ll need a multi-core processor, 4GB of RAM, and a few GB of storage space. Faster processors and more RAM are recommended for larger projects.
Installation Process
The installation process is straightforward but there are a few key steps:
- Download the Live installer from your Ableton account.
- Make sure to download the version for your operating system – Windows or MacOS.
- Before installing, close any other open programs to avoid conflicts.
- Run the Live installer and follow the on-screen instructions.
- Enter your Ableton license information when prompted.
- The installer will automatically download any additional content packages.
- Finally, Live will launch a short configuration process on first run.
Once Live is up and running, take time to adjust audio and MIDI preferences to optimize performance based on your system. With that, you’re ready to start using Live!
The Ableton Live Interface
The Ableton Live interface is focused on workflow and divides into several key areas. Getting familiar with the various views and components is critical for mastering Live’s production capabilities.
Session and Arrangement Views
Live is unique for featuring both Session View and Arrangement View. Session View is a grid-based workspace for improvisational clip launching. Great for experimentation and live performance.
Arrangement View displays a traditional horizontal timeline for sequenced studio production. Toggling between the two views is key.
Browser
The Browser on the left lets you access instruments, effects, samples, and presets. It’s also where you manage your library of sounds and assets. The search function is your friend here.
Mixer and Track Racks
The Mixer at the bottom provides level, panning, and effects controls for each track. The Device View lets you insert instruments and effects on tracks.
Transport Bar
This top bar holds critical controls like play, record, BPM, time signature, etc. Keep an eye on the CPU meter to avoid overload.
Setting Up Your Audio Interface and Controllers
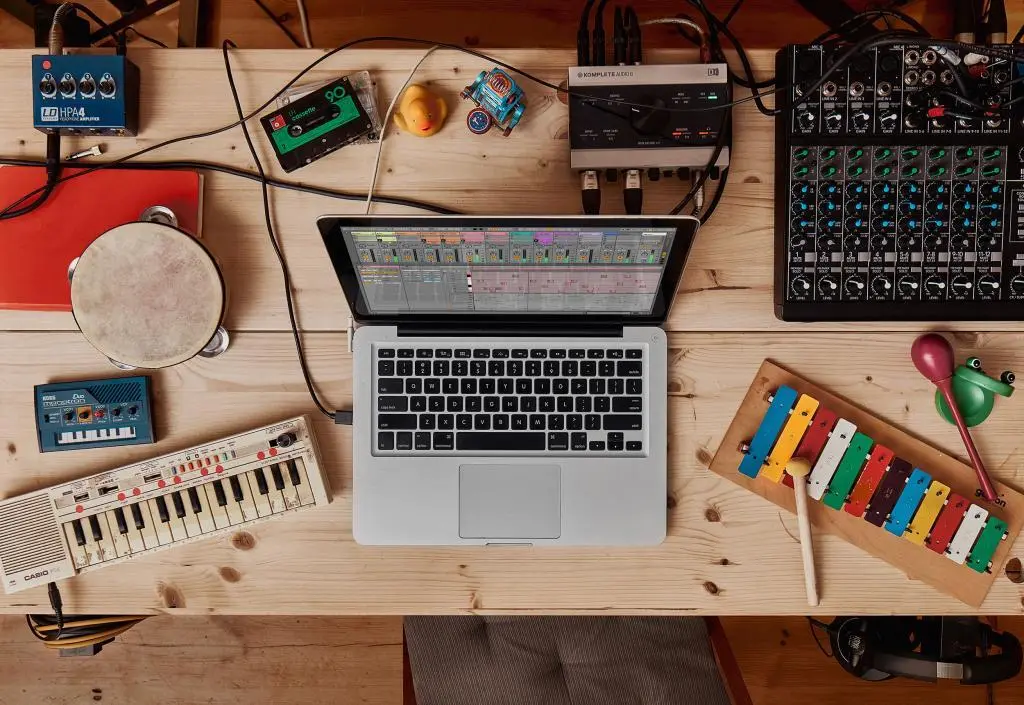
To unlock Ableton Live’s full potential, you’ll want to connect audio interfaces and MIDI controllers. This hardware integration allows for more flexible audio routing and hands-on control.
Audio Interfaces
An audio interface enables recording microphones, instruments, and line inputs into your computer. Focusrite, Universal Audio, and Native Instruments make great interfaces for Live.
Follow these steps when setting up an audio interface:
- Install the latest drivers from the manufacturer’s website.
- Connect the interface via USB and power it on. Set up near monitors without interference.
- In Live’s Preferences > Audio, choose the interface for audio input/output.
- Create tracks and select the desired interface inputs for recording sources. Adjust levels appropriately.
MIDI Controllers
MIDI controllers like keyboards allow real-time playing and parameter tweaking. Popular options include Native Instruments Komplete Kontrol and Arturia KeyLab.
To set up a MIDI controller:
- Install any required drivers first. Connect via USB.
- In Live’s Preferences > MIDI, enable input for the controller.
- Create MIDI tracks to play the controller live or sequence notes.
- Map knobs/faders to mixer and device parameters using MIDI mapping.
Proper audio and MIDI hardware setup results in smooth sailing during music production and performance with Ableton Live. Take time to optimize integration and you’ll maximize creative flow.
Working in Ableton Live
Once you have Ableton Live installed and have connected your studio hardware, it’s time to dive into creating actual music. This section will cover best practices for managing Live projects, from first creation to final archival.
Creating and Managing Projects
Ableton Live revolves around projects which contain all tracks, clips, instruments, effects and other elements that make up your music. Let’s look at effective project workflow.
Creating New Projects
When starting fresh, kick things off with a template or an empty Live Set. Templates provide preconfigured tracks, instruments and effects to get going quicker.
Saving and Exporting
Remember to save early and often. Give projects descriptive names and use subfolders to organize. Export finished songs as WAV/MP3 stems for collaboration or further production.
Opening and Closing
When opening an existing project, use Live’s File Manager for easy access. And don’t forget to close projects when finished – leaving too many open eats up processing power.
Organization
Use folders to archive old projects and keep only active projects easily accessible. Back up projects regularly to an external drive to avoid catastrophic loss.
Recording Audio and MIDI
Capturing audio and MIDI data is at the core of creating music with Ableton Live. Let’s go over proper input configuration and techniques for recording in various scenarios:
Configuring Inputs
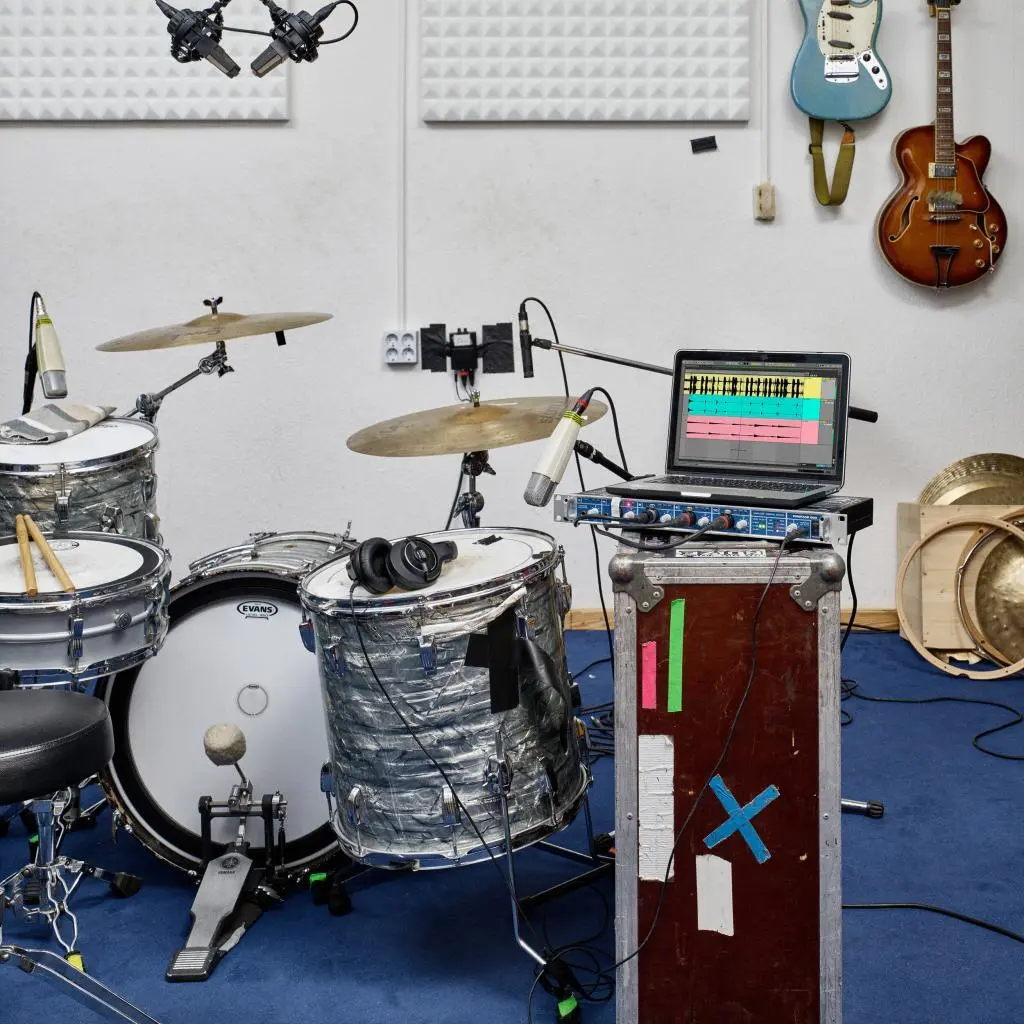
To record external sources like mics or instruments, set track inputs to route from your audio interface or other gear into Live. Create separate audio tracks for simultaneous multi-input recording.
Recording Audio
Arm an audio track and hit record to capture any incoming audio in real-time. Or drag and drop audio files directly onto tracks from Live’s browser or your computer.
Punch recording lets you drop in and out of record mode to capture specific parts cleanly. Use punch-in/out markers for precision.
Recording MIDI
Arm a MIDI track and play a connected controller to record MIDI notes and data. The piano roll editor then allows editing.
Alternatively, draw/edit MIDI directly in the piano roll without recording live input. This method is great for complex compositions.
Warping and Editing Audio
Ableton Live provides exceptional tools for manipulating audio clips in creative ways. Let’s explore Live’s warping capabilities and some go-to audio editing techniques.
Clip Envelopes
Clip envelopes let you automate parameters like volume, panning, or send levels for individual audio clips over time. Draw automation curves right in Session View for dynamic changes.
Warping Engine
Ableton’s warping engine synchronizes audio to the master tempo non-destructively by applying time stretching. This enables using loops and samples at any BPM without pitch changes.
Understanding warping controls like grain size and flux mode is key to dialing in seamless warping results.
Audio Editing
Live also offers essential audio editing tools:
- Slice larger clips into smaller pieces based on transients or grid.
- Reverse clips or sections for interesting effects.
- Fade in/out clips smoothly with configurable fade curves.
- Consolidate clips to flatten compositions.
MIDI Editing and Programming
While audio capabilities are crucial, Ableton Live also provides comprehensive tools for manipulating MIDI data to bring virtual instruments and external hardware to life.
MIDI Editor
The MIDI editor allows viewing and editing MIDI note information in a piano roll or notation view. Edit velocity, length, position and more. Powerful quantization options are available.
Drawing Notes
Manually draw MIDI notes of any length and velocity into clips. Paint tools make drawing sustained notes or drum rolls easy. Introduce humanization by adding slight timing/velocity variations.
Editing Tips
Take advantage of copy/paste to duplicate MIDI phrases. Transpose sections up or down. Invert note sequences for variations. Use the randomize function sparingly to add controlled chaos.
Programming Drum Racks
Stack and route drum samples into a Drum Rack. Program beats across the pads and use follow actions for evolving patterns. Leverage push-button controls for drum and percussion sequencing.
Using Instruments and Effects
Ableton Live comes loaded with incredible built-in instruments, MIDI effects, and audio effects for sound design. Let’s explore some of the top tools to leverage for your productions.
Instruments
Some of Ableton’s standout instruments include:
- Wavetable – Next-gen wavetable synth for otherworldly sounds. Morph between oscillator shapes.
- Drum Racks – Customizable drum kits using chained sampler instruments. The foundation for beatmaking.
- Operator – Powerful FM synthesizer for signature EDM sounds. Create complex timbres.
MIDI Effects
Creative MIDI effects like:
- Arpeggiator – Generate arpeggios and rhythmic patterns from held chords.
- Chord – Trigger chords from single notes for lush harmonies.
- Random – Add controlled randomness and variation to MIDI patterns.
Audio Effects
Top audio effects picks:
- EQ Eight – Precise 8-band parametric equalizer for sculpting tones.
- Echo – Dub/delay effects with analog/digital modes for expansive textures.
- Pedal – Realistic simulations of reverb and delay guitar pedals.
Mixing and Automation
Proper mixing and automation breathes life into your Ableton Live productions. Let’s explore some mixing approaches and automation workflows specific to Live’s workflow.
Mixing Techniques
Take advantage of Live’s groups to submix elements like drums, vocals, guitars for more control. Use Clip Gain envelopes on the fly for quick mix balances. Drop utility devices on tracks to control mono, width, gain.
Creative Automation
Automate device and mixer parameters to create movement and interest. Introduce filter or effect sweeps. Automate track panning to move elements around the stereo field. Enable track soloing/muting via automation for buildups.
Recording Automation
To capture automation in real-time, arm the automation button and tweak parameters as the track plays. Draw more precise curves in Live’s automation lanes. To avoid sudden jumps, start ramps early before dramatic changes.
Clean, polished mixing is critical. Automation takes things to the next level. Master these techniques to breathe new life into tracks.
Mastering and Exporting
The final steps before releasing your track are proper mastering and export in Ableton Live. Let’s go over some tips for optimizing this process.
Mastering in Live
Insert a mastering chain on Live’s master track. Try Live’s Limiter or Glue Compressor to start. Add EQ Eight for final tonal balancing. Watch the spectrum analyzer as you adjust.
Leave headroom on your master bus to avoid clipping. If you max out volume now you’ll have less flexibility when professionally mastering.
Exporting Audio
When exporting final tracks or stems, choose high-quality settings:
- Export to lossless WAV or AIFF for finished songs.
- MP3 at 320kbps is also fine for uploading online.
- 24 bit depth captures wide dynamic range.
- Use bit rates of 96k or higher to retain high frequencies.
Export MIDI
Export MIDI tracks as resources for additional composition work or as composition sketches to share with collaborators.
Propely prepping tracks in Live and exporting high-quality audio or MIDI affords maximum flexibility as you finalize creative projects.
Advanced Production Techniques
Once you’ve mastered the fundamentals of recording, editing, and mixing in Ableton Live, it’s time to take things to the next level with some more advanced production techniques.
Using Live for Sound Design
Ableton Live provides an inspiring palette of tools for sculpting your own custom sounds through creative sound design techniques.
Drum Racks
Drum Racks empower intricate sound design for drums and percussion:
- Layer samples with custom pitch, envelope and filtering per pad.
- Use return tracks for parallel processing chains blended to taste.
- Automate or modulate pad parameters for dynamic, evolving beats.
Sampling Instruments
Leverage Simpler and Sampler for sample manipulation:
- Pitch shift, timestretch, or splice up any sample or loop.
- Get creative with envelopes, LFOs, filters to mangle source material.
- Use velocity to modulate a sample’s start position or playback speed.
Effects
Take Live’s effects into uncharted territory:
- Twist Spectral Time into a glitchy granulator.
- Push Echo or Pedal beyond reason for otherworldly textures.
- Fake new synths by severely filtering a sample or drum rack.
Let your imagination run wild and get weird with sound design! The tools are wide open in Live.
Recording and Editing Vocals
Capturing professional-grade vocal tracks in Ableton Live requires careful setup and processing. Follow these tips for getting radio-ready results:
Recording Vocals
Use a large diaphragm condenser mic in a vocal booth for best quality. Dial in the right gain staging without peaking. Capture multiple takes to comp together.
Record vocal chains separately from raw tracks for flexibility. Print effects like tuning, compression, reverb on an Aux track.
Editing Vocals
Comp multiple takes together to create a flawless composite vocal track. Tighten and quantize timing for tight double tracks.
Use clip fades and crossfades for seamless vocal editing. Automate volumes for consistent levels.
Vocal Production
Add compression to smooth out vocals and make them pop in a mix. Reverb glues vocals in place and adds depth.
Use delays for slapback, wide chorusing for thickness. De-ess aggressively to control sibilance.
With care taken during recording and strategic editing and effects, vocals become radio-ready in the Ableton environment.
Using Max for Live and Push
Max for Live and the Push controller unlock Ableton Live’s capabilities for customization and hands-on control.
Max for Live
This visual programming toolkit lets you build unique instruments, effects and more for Live:
- Create custom MIDI and audio devices tailored to your needs.
- Max gives endless sound design and routing possibilities.
- Access free Max creations from other users to enhance your projects.
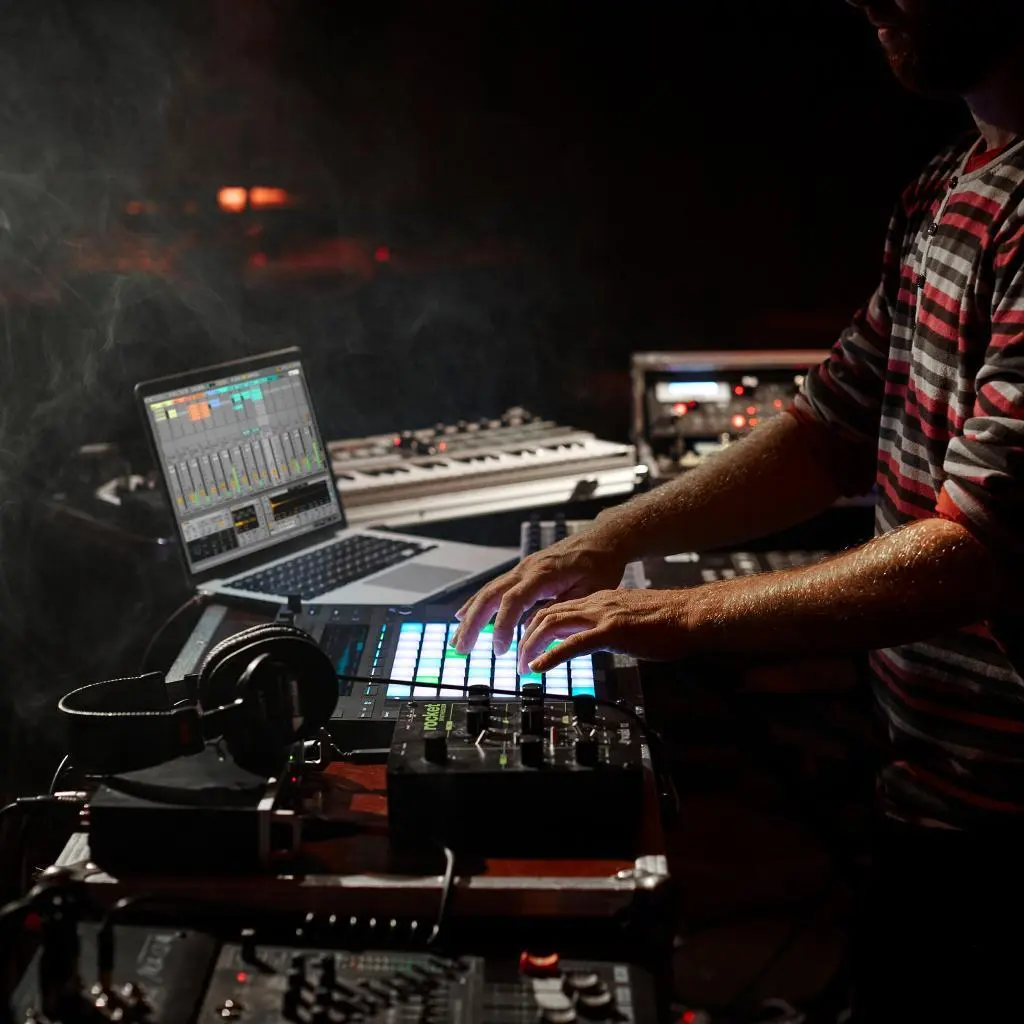
Push Hardware
Push transforms Live into a tactile instrument:
- Program beats, melodies and automation from the pads and controls.
- Manipulate clips and trigger scenes to improvise ideas.
- Mix and sculpt sounds without looking at your computer.
Essential Max Devices
- LFO – Design complex modulation shapes for amazing movement.
- Envelope Follower – Generate envelopes from audio for cool sidechain effects.
- Arpeggiator – Take MIDI sequences to new rhythmic heights.
Max and Push break down creative barriers and streamline Ableton Live’s workflow.
DJing and Live Performance
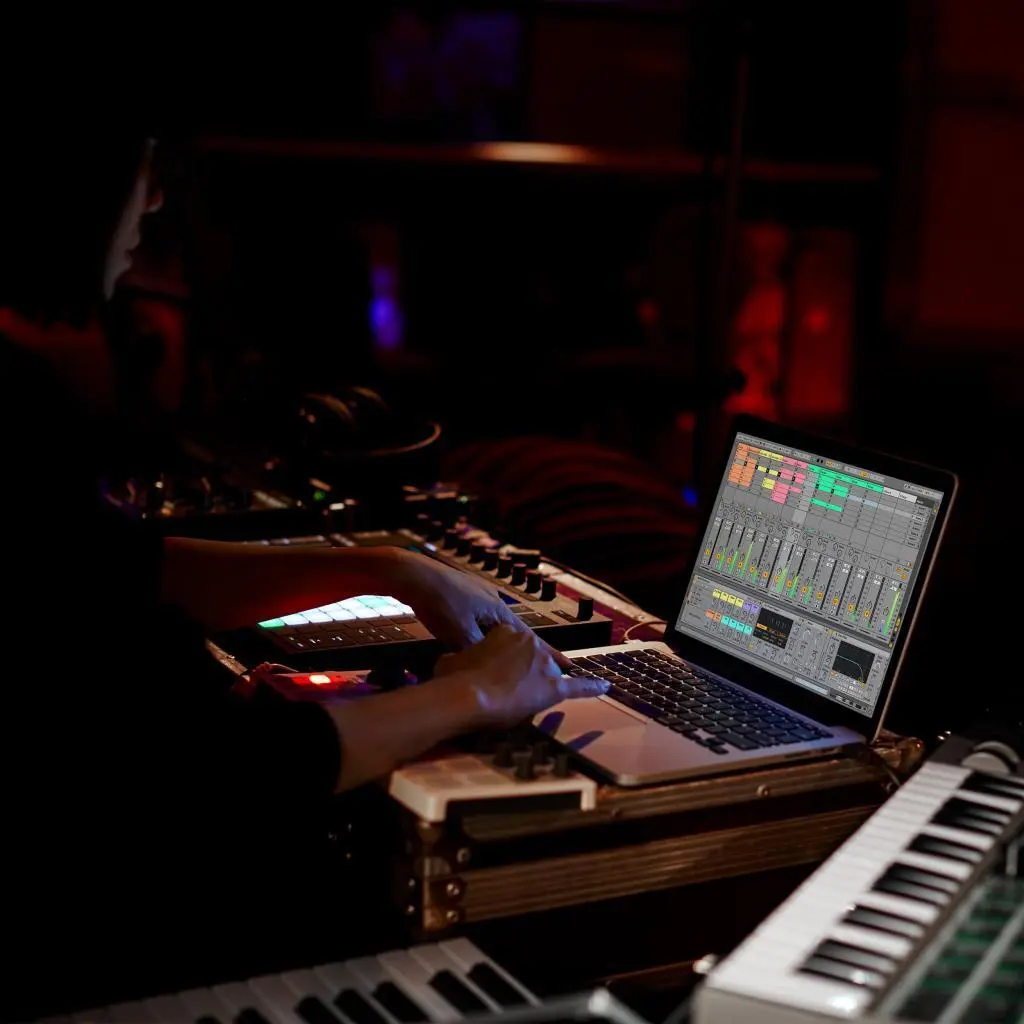
Ableton Live shines brightly when taken on stage for live shows, DJ sets, and music performances thanks to its intuitive workflow.
DJ Sets
- Use MIDI controllers like Push or launch clips to mix and trigger tracks.
- Warp tracks to any tempo and mix songs with mismatched BPMs.
- Layer acapellas, loops, FX in real time for mashups. Rearrange songs on the fly.
Live Shows
- Assemble tracks and stems into scenes ready to trigger and improvise.
- Map scene launches, Clip Stop buttons, FX on/off to MIDI controllers.
- Use Follow Actions for evolving arrangements and controlled randomness.
Essentials
- Create DJ and live performance templates with channels, routing and MIDI mapping pre-configured.
- Use Link to keep hardware synced up and avoid timing issues.
- Practice your set! Know it backwards and forwards to focus on performing.
Leverage Session View, automation, and MIDI mapping to dazzle crowds with Ableton Live.
Collaborating with Other Musicians
Ableton Live excels at facilitating collaboration thanks to built-in tools for sharing projects and syncing multiple systems.
Collaborating Remotely
- Share Live sets and collections with collaborators via cloud storage like Dropbox.
- Use source control like Git to manage revisions and merge changes to projects.
- Video chat using share screen to walk through compositions in real time.
Link for Wireless Sync
- Use Link to synchronize timing with other musicians over WiFi.
- Jam together, independently control own systems without worrying about latency.
- Link expands possibilities for collaborative live performance and improvisation.
Exporting Stems
- Bounce down tracks as editable stem files to share for feedback.
- Stems from other DAWs can be imported for further arrangement and tweaking.
- Agree on file labeling, tempos, bit depth for smooth cross-DAW collaboration.
With some planning, Live’s tools allow frictionless remote collaboration and synchronized jams – making teamwork easy!
Final Thoughts
Ableton Live is an incredibly deep music production software packed with features. This guide has provided beginners with a comprehensive introduction to unlocking Live’s capabilities and utilizing its flexible workflow for creative music production.
The most important thing is to dive in and start making music with Live. Its intuitive interface invites experimentation. Don’t be afraid to tweak every knob and try every feature.
At its core, Ableton Live breaks down barriers between artists and their creativity. The software simplifies translating musical ideas from imagination into reality. Empowered by Live’s workflow, there are no limits to developing your sound and style as an artist.
So here’s to the journey of mastering one of the most innovative and inspiring DAWs ever created. May your productions shine bright with Ableton Live.

